How to Take a Screenshot on Windows 11

Last Updated on August 21, 2024 by Micheal W S
This post is about how to take a screenshot on Windows 11. Capturing what’s on your screen is often needed. Whether you’re reporting a bug, making documentation, or sharing with others, knowing how to take a screenshot Windows 11 can help.
This guide will show you different ways to take a Windows 11 screenshot. You’ll also learn about the Windows 11 screenshot shortcut for a quick capture. These methods will help you easily grab and share important information.
Method 1: Snipping Tool Interface
The Snipping Tool Panel in Windows 11 is an easy-to-use feature for taking a screenshot in Windows 11. It lets you capture different parts of your screen. Whether you want a full screen, a specific window, a rectangular area, or a freeform shape.
Here’s why the Snipping Tool Panel is great for taking a screenshot in Windows 11:
- Flexible Capture Options: Choose the type of screenshot you need, like full-screen or just a selected area.
- Annotation Tools: Add notes, highlights, or other marks to your screenshots.
- Easy Sharing: Save or share your screenshots quickly and easily.
- Video Screen Recording: It can also record a video — with sound — of a window on your desktop.
The Snipping Tool Panel makes it simple to capture and edit a screenshot in Windows 11.
ALSO READ: How to delete Instagram account
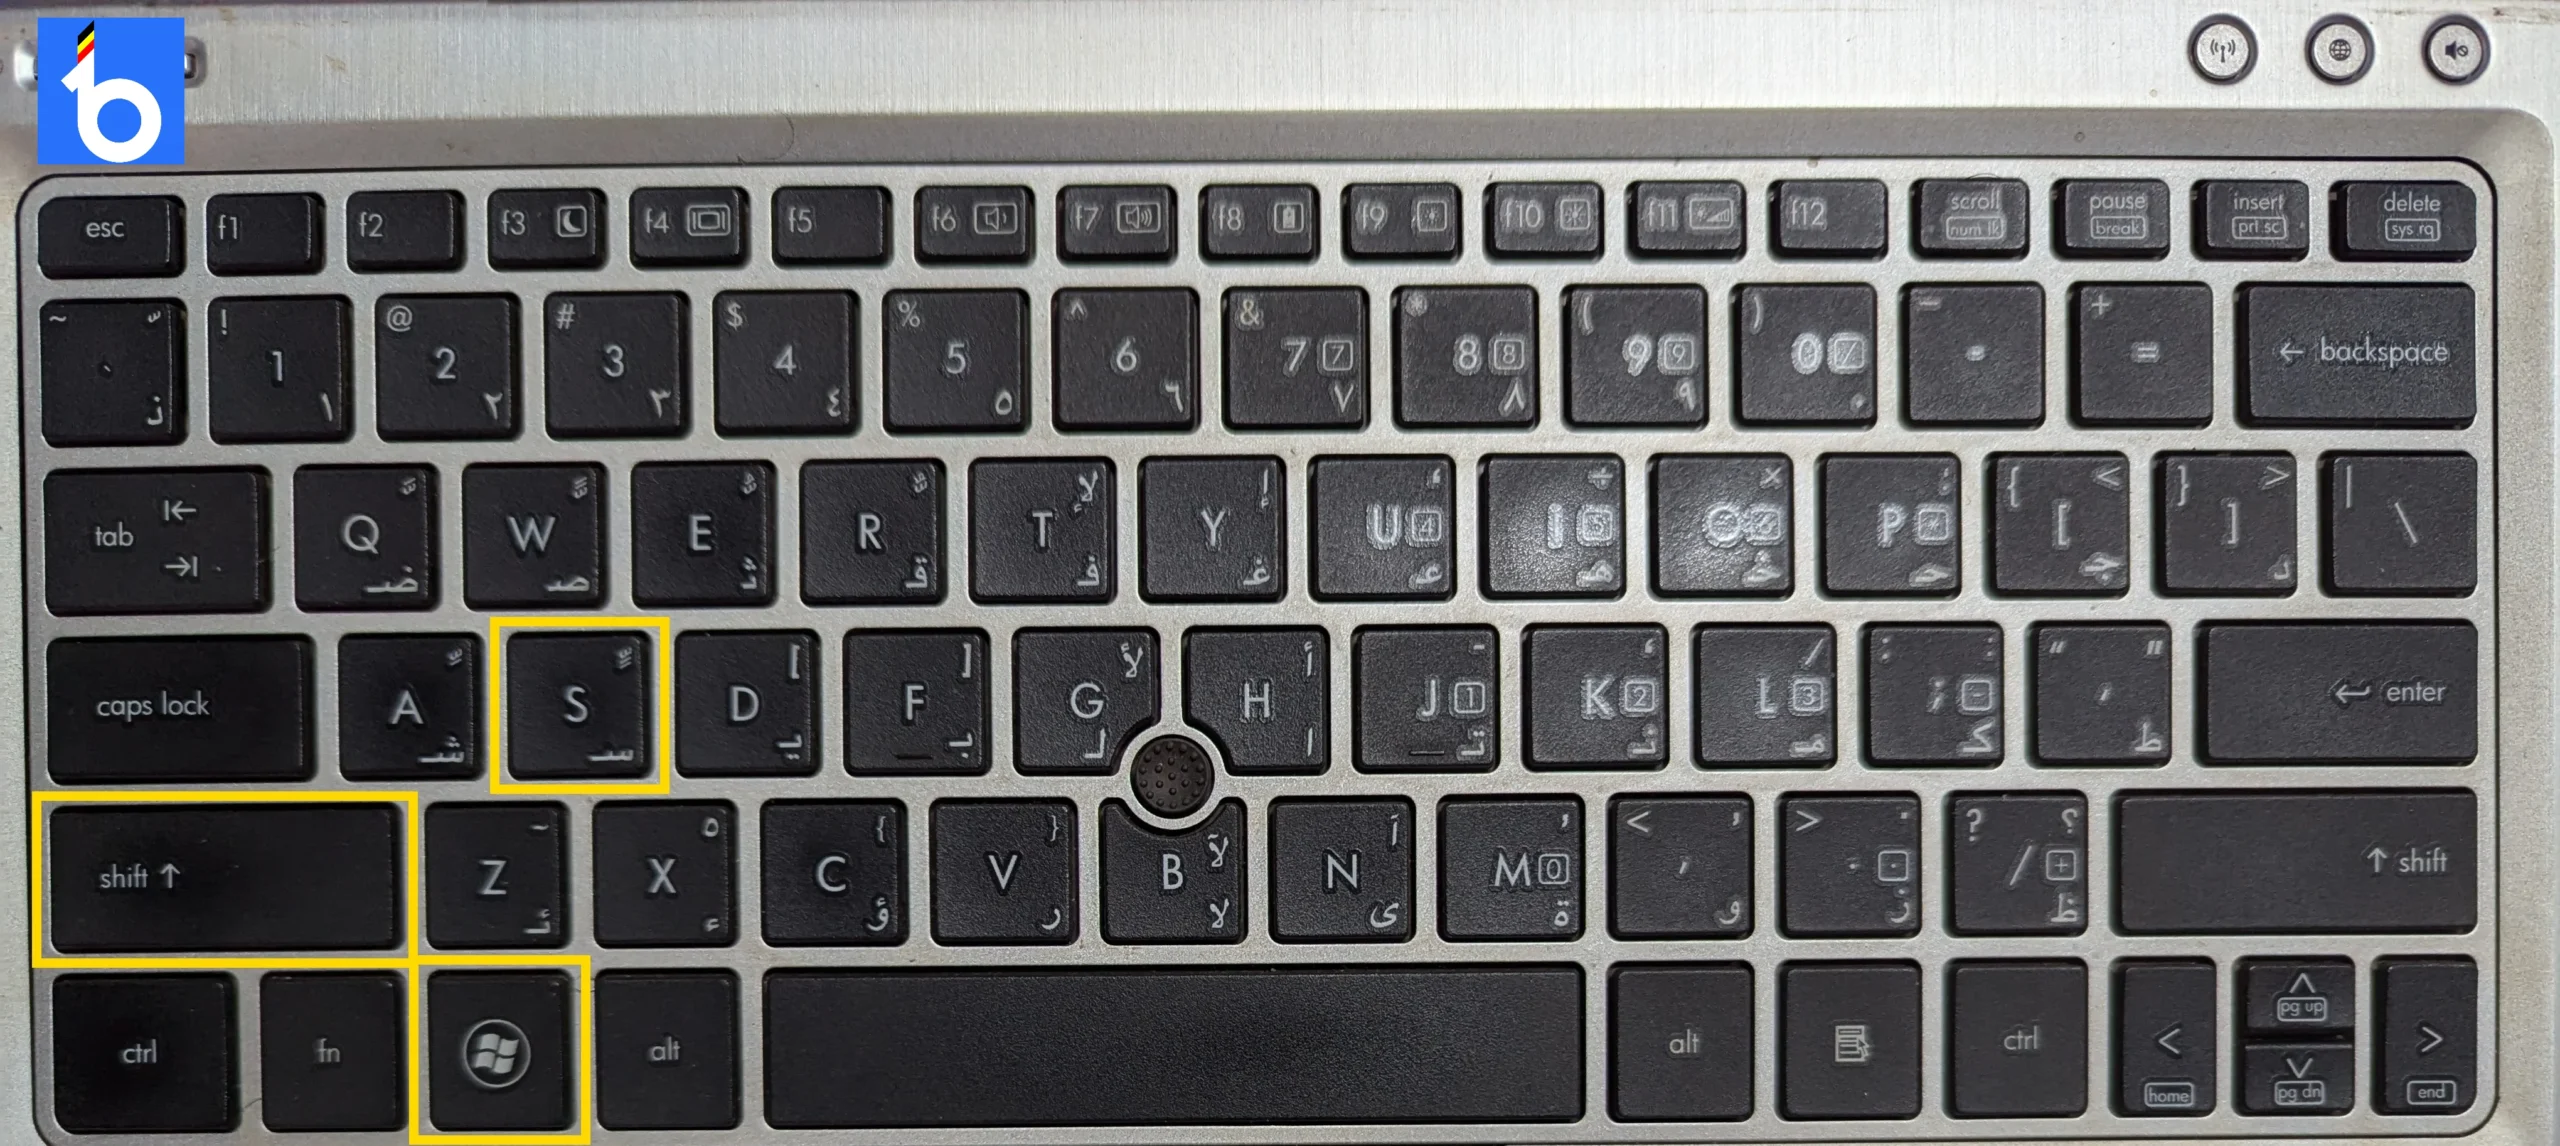
How to Take a Screenshot Using Win + Shift + S

- Press the Keys: Press
Win + Shift + Son your keyboard all at the same time (. This will open the Snip & Sketch tool. - Select a Snip Type: Your screen will dim and a small toolbar will appear at the top of your screen. Choose from the following options:
- Rectangular Snip: Click and drag to select a rectangular area.
- Freeform Snip: Draw a freeform shape around the area you want to capture.
- Window Snip: Click on a window to capture it.
- Full-screen Snip: Capture the entire screen.
- Capture the Screenshot: After selecting your snip type, the screenshot will be taken and copied to your clipboard.
- Edit and Save: A notification will appear. Click it to open the Snip & Sketch app, where you can annotate, crop, and save your screenshot.
- Paste or Save: You can paste the screenshot directly into a document or email by pressing
Ctrl + V, or save it from the Snip & Sketch app by clicking the save icon.
Method 2: Using the Print Screen Keyboard Button (PrtScr/prtscn)

The Print Screen button is a simple way to take a screenshot in Windows 11. It lets you capture your entire screen easily.
How to Use It
- Find the Button: Look for the
PrtScrorPrtScnbutton on your keyboard. It is usually near the top right. - Take a Screenshot:
- Full Screen: Press the
PrtScrbutton to capture the whole screen. This is how to take a screenshot in Windows 11. The screenshot is copied to your clipboard. - Active Window: Press
Alt + PrtScrto capture just the active window. This also copies the screenshot to your clipboard.
- Full Screen: Press the
- Paste and Save: Open an app like Paint or Word. Press
Ctrl + Vto paste the screenshot. Save the file by clicking the save icon or usingCtrl + S.
Sometimes, pressing the `PrtScr` button opens the Snipping Tool. This tool can also be used to take screenshots.
This method is an easy way to follow on how to take a screenshot on Windows 11.
Method 3: Accessing the Snipping Tool From the Search Bar

You can easily open the Snipping Tool using the search bar in Windows 11. This method is quick and convenient for taking a screenshot in Windows 11.
How to Use It
- Open the Search Bar: Click the search icon on your taskbar or press
Win + Son your keyboard. - Search for Snipping Tool: Type “Snipping Tool” into the search bar. You will see the Snipping Tool app in the search results.
- Open the Snipping Tool: Click on the Snipping Tool app to open it.
- Take a Screenshot: Once the Snipping Tool is open, click “New” to start a new screenshot. Select the area you want to capture for your Windows 11 screenshot.
- Edit and Save: After capturing the screenshot, you can edit it if needed. Save your screenshot by clicking the save icon or using
Ctrl + S.
Using the search bar is a fast way to access the Snipping Tool and take a screenshot Windows 11.
Method 4: Using the Windows key + Print Screen on the keyboard

The Windows key + Print Screen shortcut is a quick way to take a screenshot in Windows 11. It captures your entire screen and saves the image automatically.
How to Use It
- Press the Keys: Press
Windows key + Print Screenon your keyboard. This is a Windows 11 screenshot shortcut. - Capture the Screenshot: The screen will briefly dim, indicating that the screenshot has been taken.
- Find Your Screenshot: Your screenshot is saved automatically. Go to the “Screenshots” folder in the “Pictures” library to find it.
Using this method is a simple way to know how to take a screenshot in Windows 11. It’s convenient for quickly capturing and saving your screen with a single shortcut.
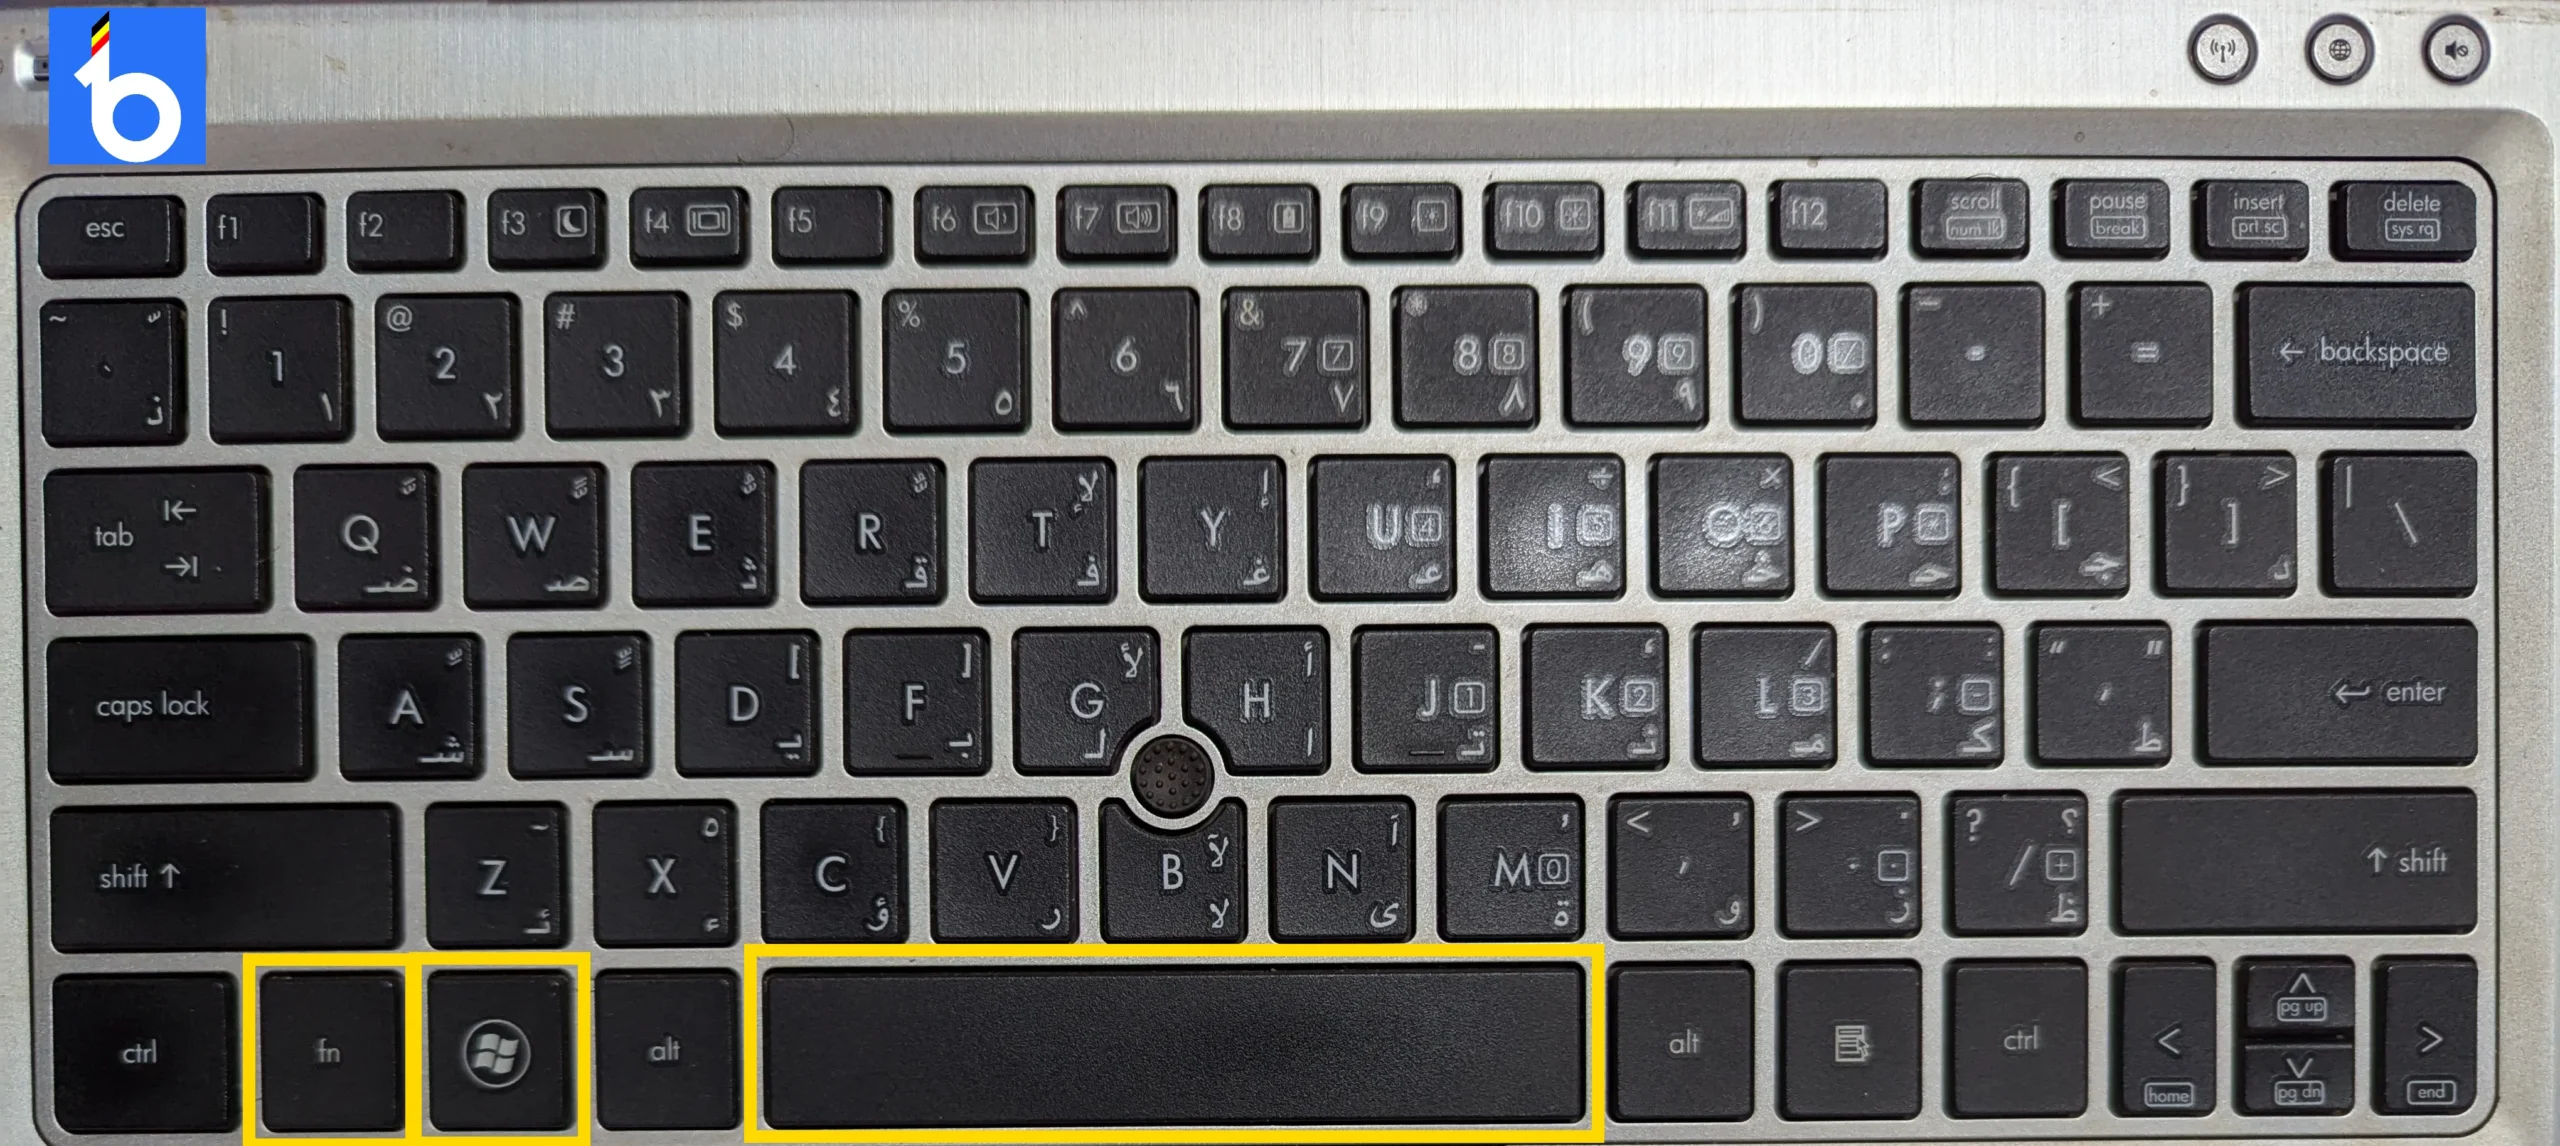
Method 5: Using Fn + Windows Key + Spacebar

If your keyboard doesn’t have a PrtScr button, you can still take a screenshot in Windows 11 using the Fn + Windows key + Spacebar shortcut. This method works well for capturing your screen quickly.
How to Use It
- Press the Keys: Press
Fn + Windows key + Spacebaron your keyboard. This is a useful alternative if you lack aPrtScrbutton. - Capture the Screenshot: Your screen will dim briefly to indicate that the screenshot has been taken.
- Find Your Screenshot: The screenshot is saved automatically. Look for it in the “Screenshots” folder within the “Pictures” library.
This shortcut is a handy way to use a Windows 11 screenshot shortcut and learn how to take a screenshot in Windows 11 without needing the PrtScr button.
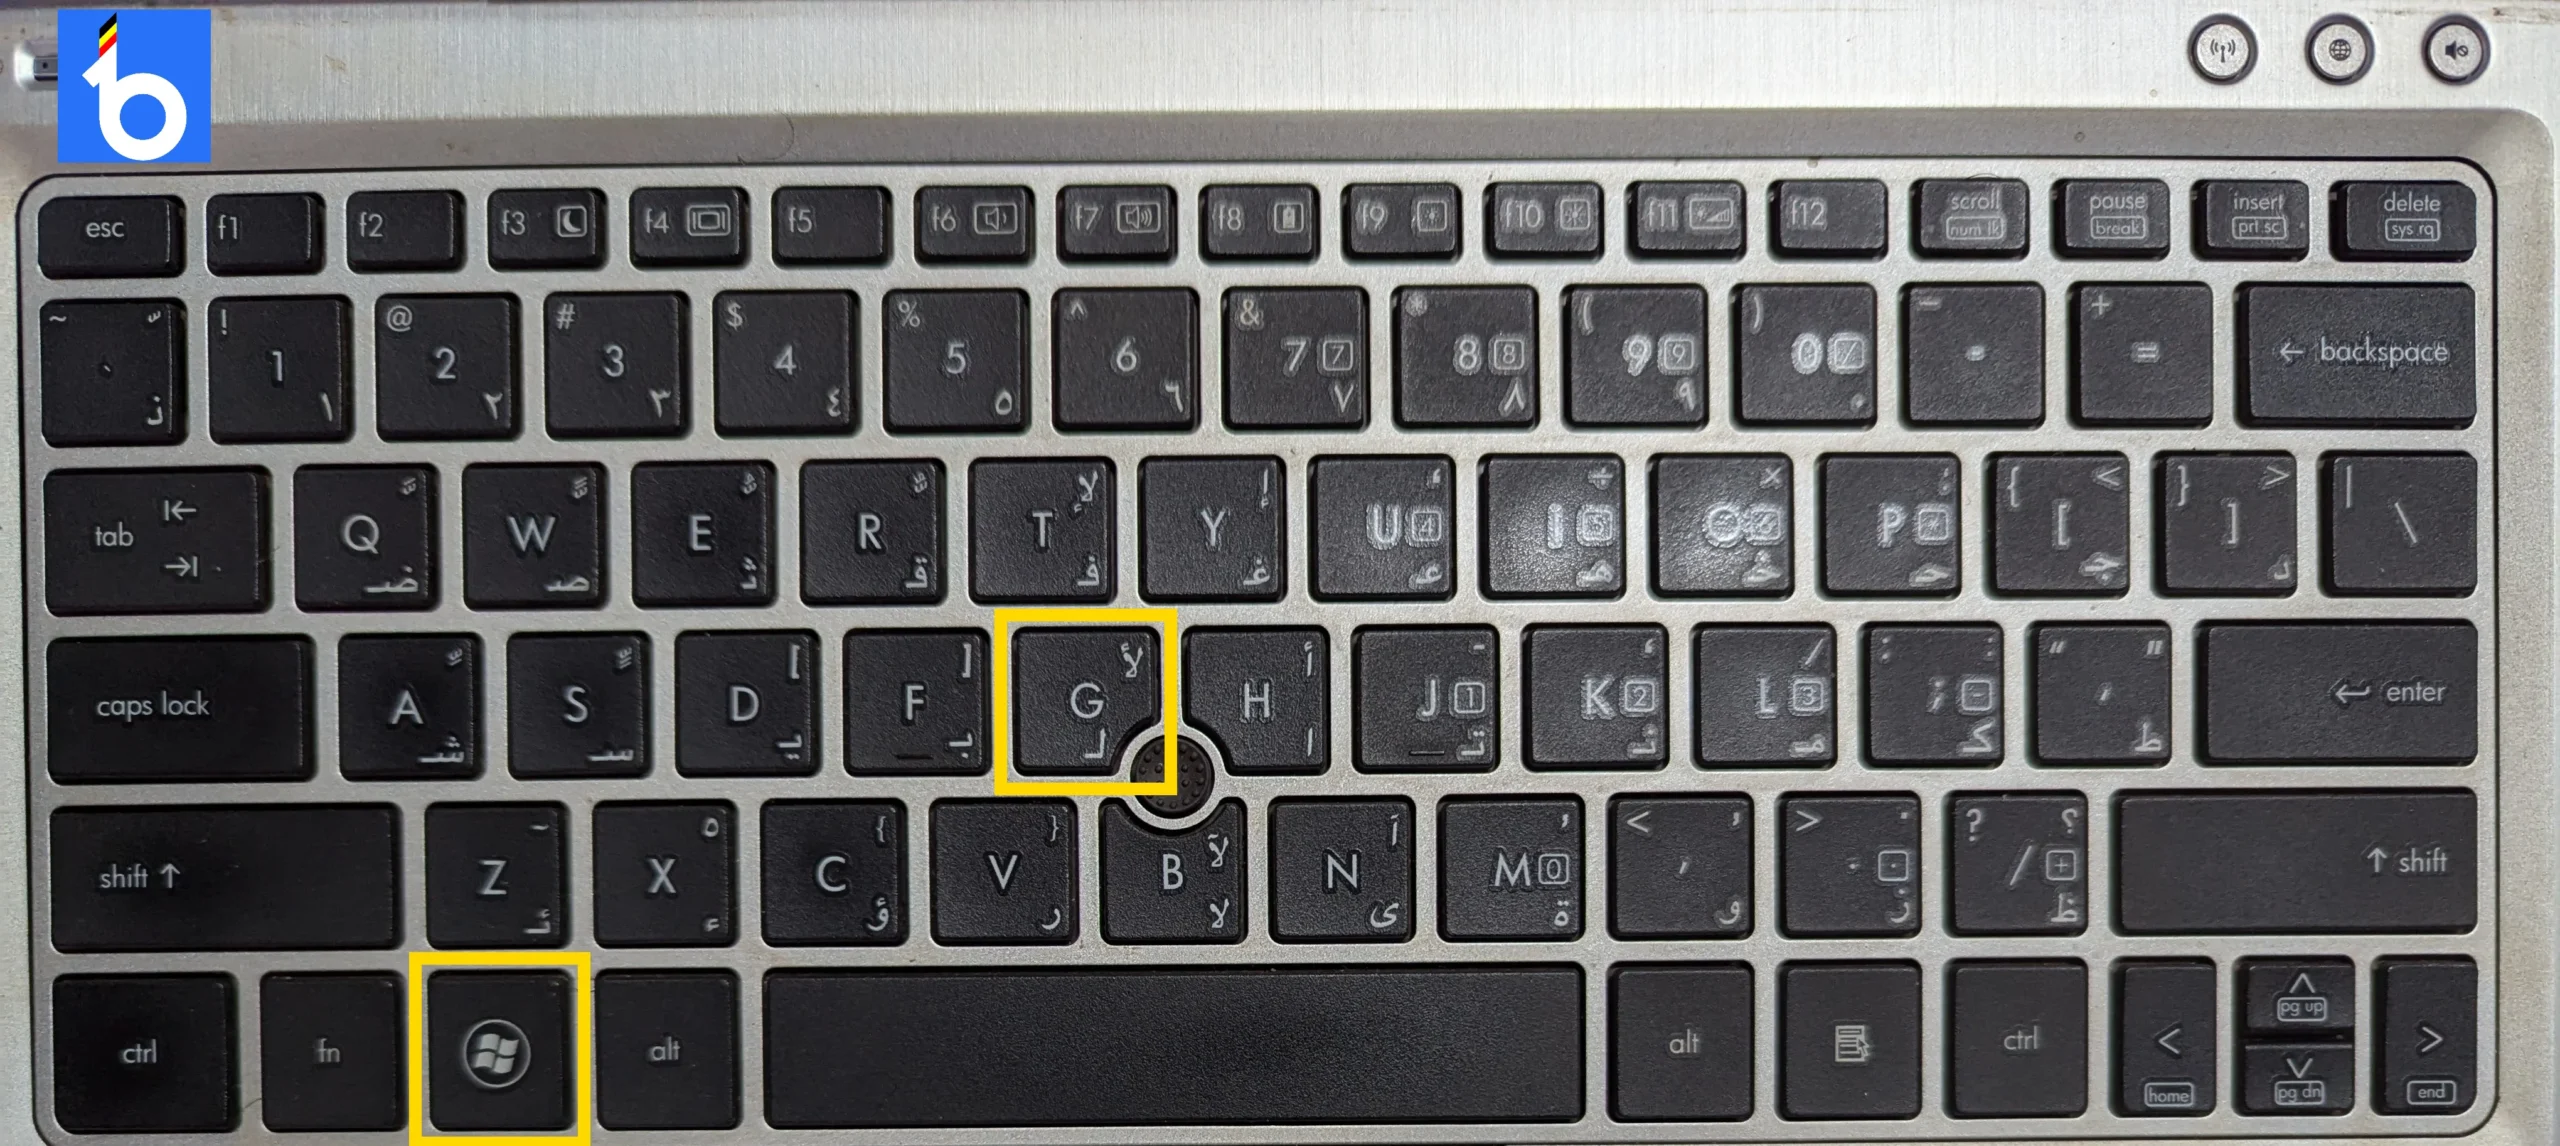
Method 6: Using the Game Bar

The Game Bar in Windows 11 is a handy tool for taking screenshots while gaming or using any application. It’s a quick way to capture your screen.
How to Use It
- Open the Game Bar: Press
Win + Gon your keyboard. This opens the Game Bar overlay. - Take a Screenshot: Click the camera icon in the Game Bar, or press
Win + Alt + PrtScnto take a screenshot. This is a convenient Windows 11 screenshot shortcut. - Find Your Screenshot: The screenshot is automatically saved. Go to the “Captures” folder within the “Videos” library to find your image.
Using the Game Bar is an easy way to capture a screenshot in Windows 11 and learn how to take a screenshot in Windows 11 while you’re in the middle of other tasks.
Conclusion
This guide covers several ways to take a screenshot on Windows 11. Whether using the Snipping Tool, keyboard shortcuts like Win + Shift + S, PrtScr, Fn + Windows Key + Spacebar, or Win + Print Screen, or the Game Bar, each method offers a simple way to capture your screen.
Which method do you use to take screenshots? Let us know your preferred approach!


